

Introduction: The Magic of Indirect Lighting
Indirect lighting has the power to transform an ordinary room into a luxurious oasis of well-being. Unlike direct light sources, which often cast harsh shadows and can be glaring, indirect lighting uses walls or ceilings as reflective surfaces. The result is a soft, diffused light that floods the room evenly and creates an incomparable atmosphere. In this comprehensive guide, you will learn everything you need to know to successfully implement your own lighting project with LED strips and shadow gaps.

What are Shadow Gaps and Why are They Ideal?
Technically speaking, a shadow gap is a deliberate space between two components – usually between a suspended ceiling and the wall. In modern interior design, however, this gap is specifically used to place light sources invisibly.
Advantages of Shadow Gaps:
- Invisible Technology: LED strips and cables disappear completely into the recess.
- Depth Effect: Rooms appear larger and higher due to the illuminated edges.
- Glare-free: Since you don’t look directly into the light source, the light is particularly pleasant for the eyes.
- Aesthetics: It creates a modern, minimalist look reminiscent of high-end hotel designs.
Planning: The Key to Your DIY Project
Before you pick up your tools, thorough planning is crucial. Indirect lighting is difficult to correct once installed, as the installation is often permanent.
1. Choosing the Right LED Strip
Not every LED strip is suitable for every project. Pay attention to the following criteria:
- Light Color (Color Temperature): Warm white (2700K – 3000K) is ideal for living rooms and bedrooms. Neutral white (4000K) is perfect for work areas or the kitchen.
- Brightness (Lumens per Meter): For pure accent lighting, 400-600 lm/m is sufficient. If the light is to serve as the main light source, it should be at least 1000-1500 lm/m.
- LED Density: The more LEDs per meter (e.g., 120 LEDs/m), the more uniform the light pattern. COB LED strips are the gold standard here, as they produce a completely dot-free band of light.
- Voltage: 24V systems are more stable than 12V systems over longer distances (over 5 meters) because the voltage drop is lower.
2. Power Supply and Control
Plan a location for the power supply unit. It must be sufficiently ventilated and should remain accessible for maintenance purposes (e.g., behind a service hatch). Consider whether you want to operate the light via a classic wall switch, remote control, app, or voice control (Smart Home).
Materials and Tools
For a professional installation you will need:
- LED Strips: In the desired length and light color.
- Aluminum Profiles: These serve to cool the LEDs and ensure straight mounting.
- Power Supply (Transformer): Matching the total power (Watts) of the strips.
- Controller/Dimmer: To control brightness or color.
- Shadow Gap Profiles or Drywall Material: Depending on whether you are suspending a ceiling or using ready-made stucco light profiles.
- Tools: Cordless screwdriver, miter saw, soldering iron (optional for custom corners), voltage tester, and mounting adhesive.

Step-by-Step Guide: Installing an Illuminated Shadow Gap
Step 1: Preparing the Surface
Ensure that the surface where the aluminum profile or light profile will be attached is free of dust and grease. For a suspended plasterboard ceiling, the shadow gap should already be part of the construction.
Step 2: Mounting the Aluminum Profiles
Glue or screw the aluminum profiles into the shadow gap. The profiles protect the LED strip from overheating, which significantly extends its lifespan. Pro Tip: Use profiles with an opal (milky) cover to diffuse the light even more softly.
Step 3: Preparing the LED Strips
Measure the required length exactly and only cut the LED strip at the marked points. If you need to bridge corners, you can either use corner connectors or solder the contacts with short pieces of wire, which is the most reliable connection.
Step 4: Wiring and Connection
Connect the LED strip to the controller and the controller to the power supply. Strictly observe the polarity (+ and -). Test the system before finally gluing the strip in place.
Step 5: Gluing and Finalization
Peel off the protective film from the adhesive strip on the back of the LEDs and press the strip firmly into the aluminum profile. Place the cover on the profile and turn on the light – enjoy the effect!
Creative DIY Ideas for Every Room
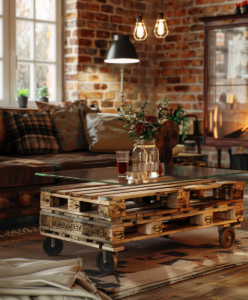
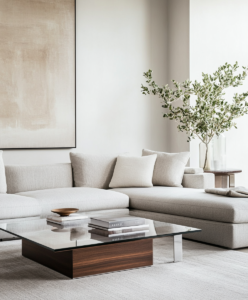
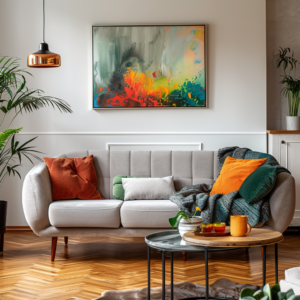
Living Room: The Floating Ceiling
Build a square or rectangular element out of plasterboard in the center of the ceiling. Leave a setback of approx. 10-15 cm on all sides to the actual ceiling. The LEDs installed in this gap make the ceiling appear to float optically.
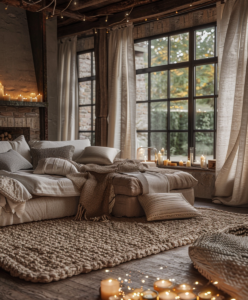
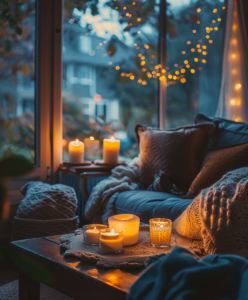
Bedroom: Soft Light Behind the Headboard
Attach a wooden panel at a slight distance from the wall behind your bed. Install the LED strips all around behind the panel. This creates a warm nest feeling and often replaces the bedside lamp.
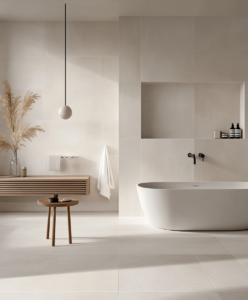
Bathroom: Wellness Ambience in the Niche
Use waterproof LED strips (at least IP65) in shower niches or behind the mirror. Indirect light in the bathroom is particularly relaxing during a bath.
Staircase: Safety with Style
Install LED strips under the overhangs of the stairs or in a lateral shadow gap along the stringers. This not only looks futuristic but also increases safety at night.
Avoiding Common Mistakes
- Visible Light Dots: If the distance to the reflective surface is too small or no cover is used, you will see the individual LED dots. Solution: Use COB strips or deeper profiles.
- Voltage Drop: On very long runs, the LEDs at the end become dimmer. Solution: Feed the power in again every 5 meters (parallel connection).
- Incorrect Power Supply Sizing: A power supply that is too weak will get hot and may fail. Always calculate with a 20% reserve.
- Heat Accumulation: Gluing LEDs directly onto wood or plastic shortens their lifespan. Always use aluminum for heat dissipation.
Conclusion
Indirect lighting with LED strips and shadow gaps is a project that is feasible for any DIY enthusiast with a little manual skill and good planning. It massively enhances the quality of living and offers endless design possibilities. Whether as subtle accent lighting or as a smart lighting system – the combination of modern LED technology and architectural tricks like the shadow gap ensures a home where you feel completely at ease.
Frequently Asked Questions
Can I simply shorten LED strips?
Yes, LED strips have marked cutting lines (usually every few centimeters). Only cut there to avoid breaking the circuit.
Do I absolutely need an aluminum profile?
It is highly recommended. The aluminum acts as a heat sink. Without cooling, LEDs can overheat and quickly lose their brightness and lifespan.
What is the advantage of 24V over 12V?
At 24V, less current flows for the same power. This allows for longer distances without visible loss of brightness at the end of the strip.
What protection class do I need in the bathroom?
In areas with splashing water (e.g., shower), you should use at least IP65. In drier zones of the bathroom, IP44 is often sufficient.
How do I avoid seeing individual light dots?
Use COB LED strips or profiles with an opal cover and ensure there is sufficient distance to the reflective surface.
How do I calculate the correct power supply?
Multiply the wattage per meter by the total length and add a 20% buffer. (Example: 10W/m * 5m = 50W + 10W buffer = 60W power supply).

- Minimalist Kitchen Decor: Less is More for Your Kitchen – 13. January 2026
- Modern Kitchen Decor: 7 Stylish Ideas for Your Kitchen – 12. January 2026
- Living Room Decor for Rental Apartments: Creative and Stylish Ideas – 7. January 2026


0 Comments